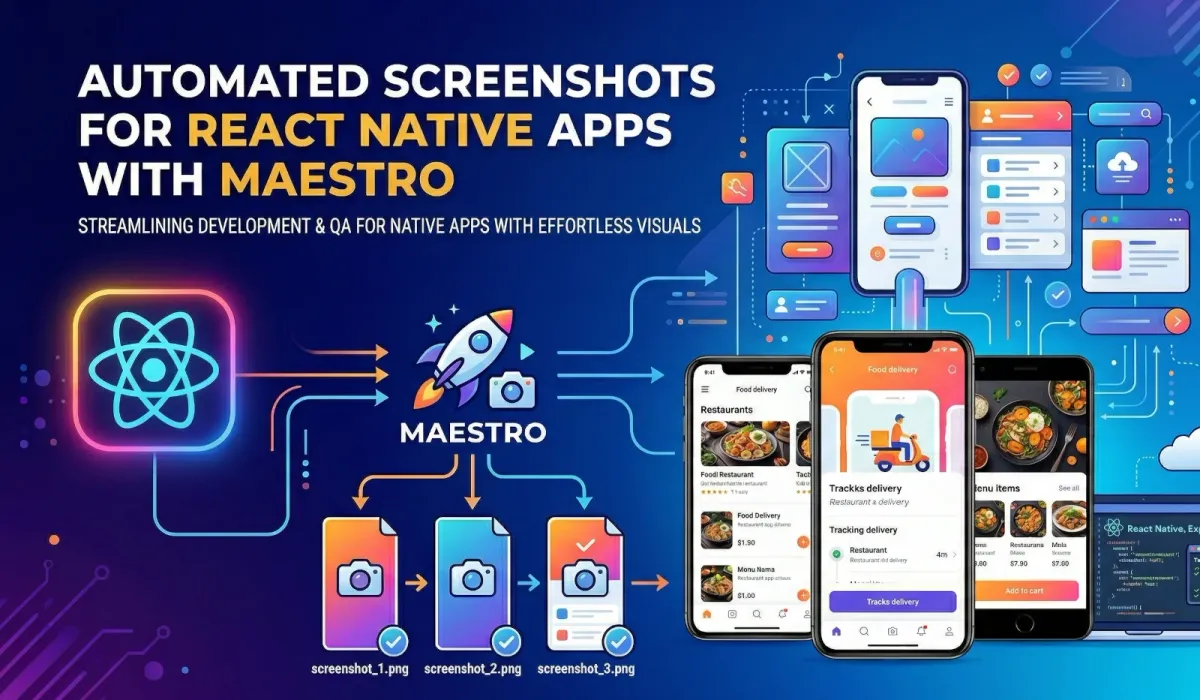
Maestro for App Store and Play Store screenshots
- Admin
- Development
- 22 Mar, 2026
Just yesterday, I was creating dozens of screenshots of my app (Kitchen Converter) for the App Store and Play Store. I can tell you… it is a time consuming process to create these screenshots. Keep in mind, we are also talking about multiple devices (tablet) and multiple languages as well.
Now I started working on this a new app, called memorybank. It will be a journaling app that helps you to remember your valuable memories. I am very excited about it, but all the languages I want to support for the app, makes it even more time consuming to create these screenshots. That’s why a solution for this problem was really necessary.
How can Maestro create Screenshots for you?
Here comes Maestro. Maestro is a tool made for e2e testing of your mobile apps. It is a command line tool that can be used to navigate and use your app.
This can be done by creating flows. A flow is basically a YAML file that describes the steps to take to use your app.
Simple Maestro Screenshot Flow
First make sure maestro is installed. Please visit the linked page if it is not added to your system yet.
For the start, here is a simple maestro flow that opens the app and takes a screenshot.
In the upper part, appId and name are defined for the whole section.
Below we can basically see 3 instructions with parameters.
-
launchApp - It launches the App,
clearState: trueclears the state of the app before launching it. -
extendedWaitUntil - It waits until the element with the test id “header_subtitle” is visible. The testID can be easily defined in an element with
testID="header_subtitle"for example. -
takeScreenshot - It takes a screenshot of the app and saves it to the file “screenshots/01_Home”.
appId: com.my.identifier
name: Screenshot Flow
---
- launchApp:
    clearState: true
- extendedWaitUntil:
    visible:
      id: "header_subtitle"
    timeout: 10000
- takeScreenshot:
    path: "screenshots/01_Home"
    label: "Taking screenshot of the home screen"
Terminal log:
 ║
 ║  > Flow: Screenshot Flow
 ║
 ║    ✅   Launch app "com.my.identifier"
 ║    ✅   Assert that id: header_subtitle is visible
 ║    ✅   Taking screenshot of the home screen
 ║
Great! We have our first flow and it takes a screenshot already!
Automate mobile app screenshots with Maestro
Since we are able to take screenshots, we can now go one step further and try to automate. My personal goal: The flow should create screenshots for multiple languages.
How do we approach this now?
- We create a bash script that starts our flow
- We enhance our flow, so it can take a parameter from the script
- I’ll show you one more thing that is important for maestro in combination with react native
Bash Script for maestro screenshot automation
First we create a bash script that starts our flow. It is not very complex, but if bash is another language you are not familiar with, I will explain it below.
#!/bin/bash

# List of supported language codes (What you would also define in your i18n)
LANGUAGES=(
  "en" "de" "es" "fr" "it" "pt" "nl" "ru" "zh-CN" "zh-TW"
  "ja" "ko" "ar" "tr" "pl" "uk" "sv" "da" "fi" "nb" "hi"
)

#the @ tells bash to return all the items in the array, the # before it counts the number of items in the array
echo "Starting Maestro screenshot generation for ${#LANGUAGES[@]} languages..."

# for every language we run this code block
for LANG_CODE in "${LANGUAGES[@]}"; do
  echo "----------------------------------------"
  echo "Running screenshots for: $LANG_CODE"
  echo "----------------------------------------"

  # run Maestro flow with language parameter
  maestro test maestro/screenshot_flow.yaml -e LANGUAGE_CODE="$LANG_CODE"

  # in the end we check the output of the test $? 0 means success, everything else would be failure
  if [ $? -eq 0 ]; then
    echo "✅ Success for $LANG_CODE"
  else
    echo "❌ Failed for $LANG_CODE"
  fi
done

echo "Finished all screenshot runs."
Instead of running 21 flows, we can now simply run the bash script and it will create all the screenshots for us.
Maestro Flow with language parameter
In the previous step you can see that we pass a environment variable to the flow. We can use this variable in our flow to set the language of the app.
But here comes something that might be opinionated. You now have two ways to set the language.
Option a: You set the language in the flow itself. This is what I did in the example below.
- tapOn:
    id: "header_menu_button"
- tapOn:
    id: "drawer_item_settings"
- tapOn:
    id: "language_dropdown"
- tapOn:
    id: "language_dropdown_item_${LANGUAGE_CODE}"
...
- takeScreenshot:
    path: "screenshots/${LANGUAGE_CODE}_01_Home"
Here your maestro flow would basically open the drawer, go to the settings, open the dropdown and tap on the language that currently is in LANGUAGE_CODE.
It runs well and tests if everything works correctly, but it takes a little more time.
Option b: You set the language directly.
- launchApp:
    clearState: true
    arguments:
      isE2E: "true"
      INITIAL_LANG: "${LANGUAGE_CODE}"
Here you see that we defined launch arguments. For example isE2E and INITIAL_LANG.
The package react-native-launch-arguments can be used to get these arguments in your app.
The idea is that you check in your app if isE2E is true. If it is, you set the language to INITIAL_LANG. Then you save some steps in the flow. This could be interesting if you run these tests in the cloud and pay per minute.
Maestro react native debugbar tip
I have promised one more valuable item regarding when working with maestro and react native. It is about the debug toolbar (the ui element that occurs on the buttom of the screen).
Since we talk of the isE2E argument. One annoying issue is that react native also launches the debug toolbar also for the e2e tests.
That’s why I usually pass an isE2E: true argument to the app and check if this argument is set. If it is, I simply disable the debug toolbar.
Something like this for example
import { LaunchArguments } from "react-native-launch-arguments";
import { LogBox } from "react-native";

interface Arguments {
  isE2E?: string | boolean;
}

const args = LaunchArguments.value<Arguments>();

export const isE2E = args?.isE2E === "true" || args?.isE2E === true;

if (isE2E) {
  console.log("[E2E] App is running in E2E mode. Disabling logs.");
  LogBox.ignoreAllLogs();
}
Thanks for reading!